
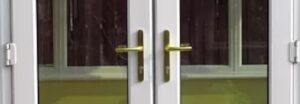
Repairing a Door Handle: A Comprehensive Guide
Door handles are amongst the most often used components of any home or workplace. Nevertheless, their constant usage can lead to use and tear, leading to a malfunctioning or broken handle. Whether it's a loose handle that will not turn or a totally detached one, repairing a door handle can frequently be a simple job that requires just standard tools and a little understanding. This post will direct you through the actions involved in repairing a door handle, in addition to some practical FAQs.
Comprehending Common Door Handle Issues
Before diving into the repair procedure, it's vital to recognize common issues associated with door handles:
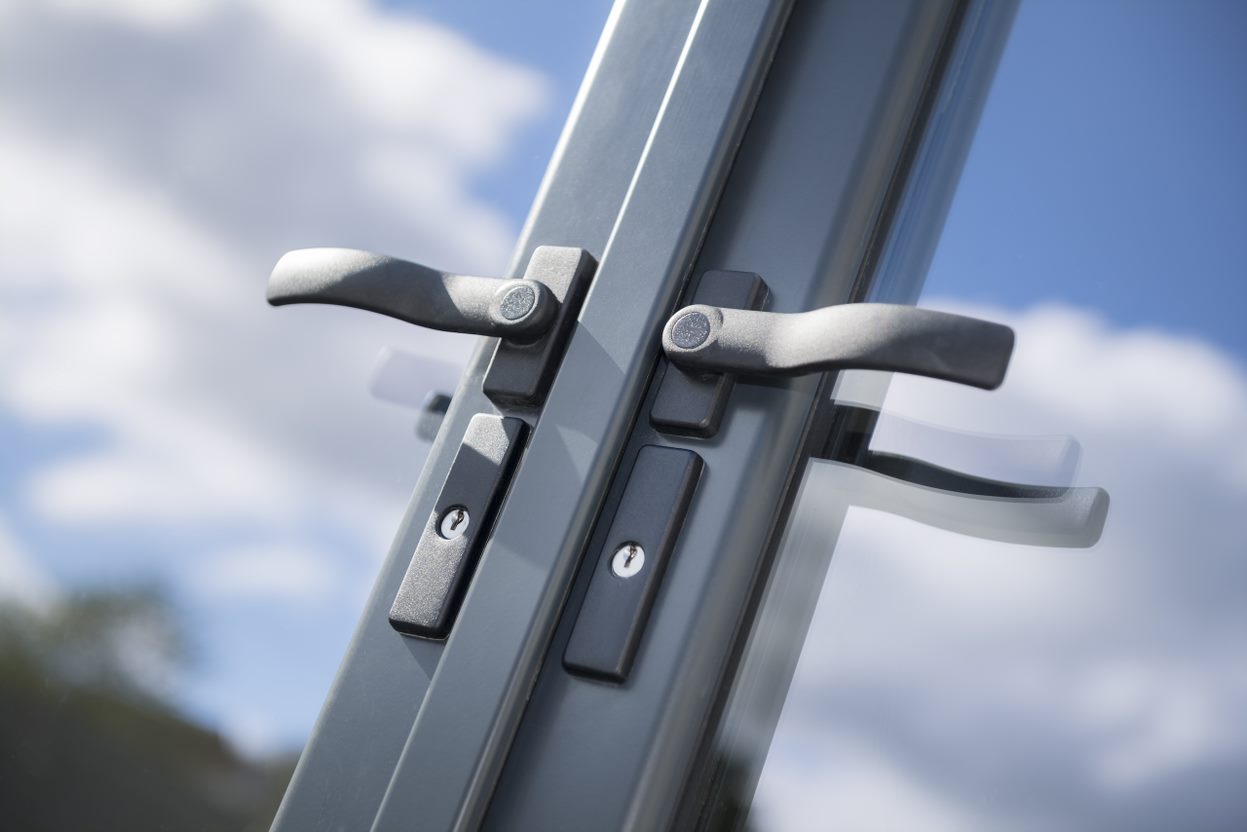
- Loose Handle: A handle that wobbles or turns without engaging the lock may have loose screws.
- Stuck Handle: If a door handle is tough to turn, there might be obstructions within the mechanism or misalignment with the lock.
- Separated Handle: Complete detachment may arise from broken screws or a harmed handle.
- Rusty or Corroded Handle: Handles made from metal can become rusty with time, leading to performance issues.
Recognizing these problems will help you identify the best strategy for repair.
Tools and Materials Needed
To successfully repair a door handle, you'll need the following tools and materials:
Tools:
- Screwdriver (flathead and Phillips)
- Allen wrench (if suitable)
- Pliers
- Utility knife
- Cleaning fabric
- Lube (e.g., WD-40)
- Replacement parts (if necessary)
Materials:
- Screws (if any are missing or damaged)
- New handles (if repairs are not practical)
Step-by-Step Repair Process
Step 1: Gather the Tools
Start by putting together all the required tools and products. Having everything on hand will make the repair process smoother and more efficient.
Step 2: Remove the Door Handle
Examine the Handle: Look for visible screws on the handle or the base. Many handles have screws concealed behind ornamental plates, which may require to be pried off gently.
Unscrew the Handle: Using the appropriate screwdriver, eliminate the screws holding the handle in place.
Detach the Handle: Once the screws are gotten rid of, thoroughly pull the handle away from the door. If the handle is stuck due to paint or corrosion, carefully wiggle it back and forth or utilize an energy knife to cut the paint around its base.
Step 3: Diagnose the Problem
Upon eliminating the handle, inspect its parts:
- Check the screws: Ensure they are not stripped or harmed.
- Examine the mechanism: Look for any noticeable signs of wear or blockage.
- Examine the positioning: Ensure that the lock mechanism is aligned with the handle.
Step 4: Repair or Replace Components
Depending on your diagnosis, continue as follows:
For Loose Handles:
- Tighten the screws using the screwdriver. If screws are harmed, change them with brand-new ones.
For Stuck Handles:
- Apply lubricant to the mechanism and move the handle back and forth to loosen any stuck parts. Make sure the alignment is correct with the latch.
For Detached Handles:
- If the handle has broken completely, change it with a brand-new one. Guarantee you choose a replacement that matches the existing hole pattern on your door handle experts (super-Admins.online).
For Rusty Handles:
- Use a cleansing fabric to wipe away rust and corrosion. If the handle is too corroded for repair, think about replacing it entirely.
Step 5: Reinstall the Door Handle
Align the Handle: Position the handle back onto the door, guaranteeing that it aligns with the lock mechanism.
Screw It Back In: Insert and tighten screws to secure the handle in place. Prevent overtightening as this could strip the screws or harm the door.
Step 6: Test the Handle
Once the handle is reinstalled, evaluate its performance. Guarantee it turns efficiently and engages the lock properly. If you observe any issues, repeat the relevant repair steps.
Preventative Maintenance Tips
To extend the life expectancy of your door handles, think about these maintenance tips:
- Regularly examine screws for tightness and retighten them as needed.
- Apply lube to the mechanism every couple of months to prevent wear.
- Keep handles tidy and without dust and debris.
- Examine for rust or corrosion, specifically on exterior doors.
FAQs About Door Handle Repair
Q1: Can I repair a door handle without changing it?
Yes, lots of common issues, such as loose screws or misalignment, can typically be repaired without replacement.
Q2: What type of lubricant should I utilize?
A general-purpose lubricant like WD-40 or silicone spray is reliable for oiling door handle systems.
Q3: How do I understand if I require a new handle?
If the handle is broken, greatly rusted, or if internal elements are beyond repair, it might be more affordable to replace it.
Q4: Are there different kinds of door handles?
Yes, there are different types, including lever handles, knob handles, and wise locks. Each needs a slightly various approach to repair.
Q5: Is it possible to fix a handle on a sliding door?
Yes, sliding doors often have distinct systems. However, the fundamental principles of identifying and fixing issues use. Speak with producer guidelines for specific repair guidelines.
Fixing a door handle may seem daunting for some, however with the right tools, products, and understanding, it is a workable DIY task. By following the actions described in this guide, people can efficiently assess, repair, and maintain door handles, ensuring they stay practical and reliable for many years to come. Regular maintenance is necessary, as it lengthens the life of door handles, reduces the need for substantial repairs, and promotes a smoother operation throughout your office or home.


